Meet Pat, The Apatosaurus
- Megan Hoskins
- May 17, 2020
- 2 min read
Updated: May 18, 2020
When a small furniture delivery arrived at our door in the middle of our dinosaur themed at-home learning week, the 4 year old requested a dino project. It took a while to figure out what to make, but after a couple of days, we knew what to do.
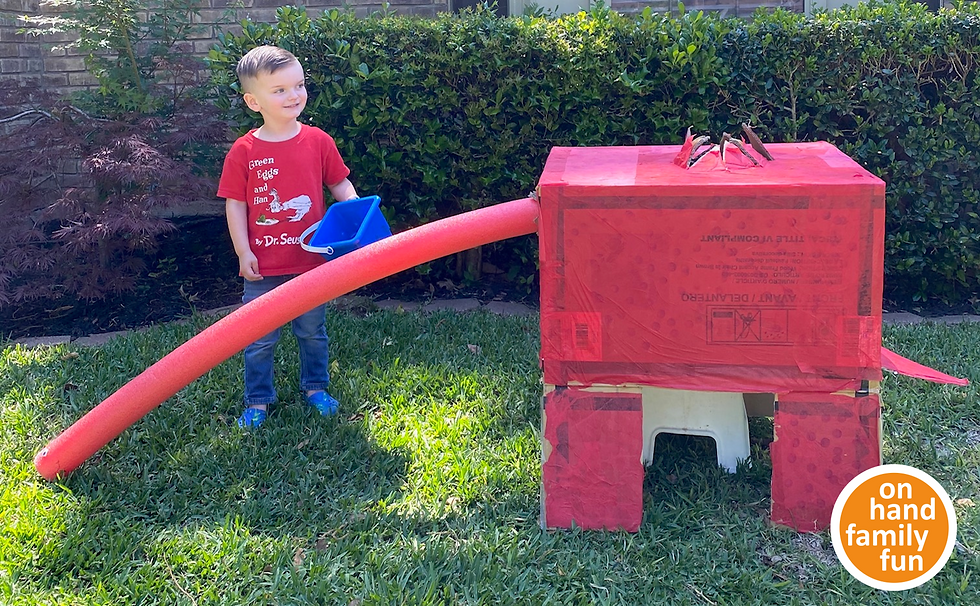
Enter Pat:

We decided to make an apatosaurus costume because the apatosaurus is one of our favorites in a book called, Oh Say Can You Say Dinosaur? by Dr. Seuss. There are several long necked dinosaurs to choose from, so this might be a good time to compare and contrast the features of the different species.

Step 1: Gather Materials
You will need:
- Box
- Box Cutter
- Pool Noodle
- Tissue Paper
- Glue
- Water
- Brushes or Sponges
Optional:
- Markers
- Googly Eyes
Step 2: Prepare the Box
All you need to do to make your apatosaurus's body is use your box cutter to cut the lower flaps into the shapes of legs and a tail. You will also need to cut star shapes into the top and front of the box, a larger one for the wearer's head (if desired), and a smaller one for the pool noodle.
As always, use caution with the box cutter! Cut away from your body. Cut in an area that is away from your children or anything valuable.

Step 3: Add Tissue Paper

Now, you get to add your dinosaur's skin. We chose to decoupage tissue paper onto our box with what we had on hand and it worked like a charm!
Kid-Friendly Decoupage:
1 Part Elmer's Glue
to
2 Parts Water
Glue and water made a perfect, nontoxic paste to "paint" our tissue paper all over the box. It actually went really fast! When the paper dried, we added "scales" with our dot makers.
Step 4: Add the Noodle and Try Him On!
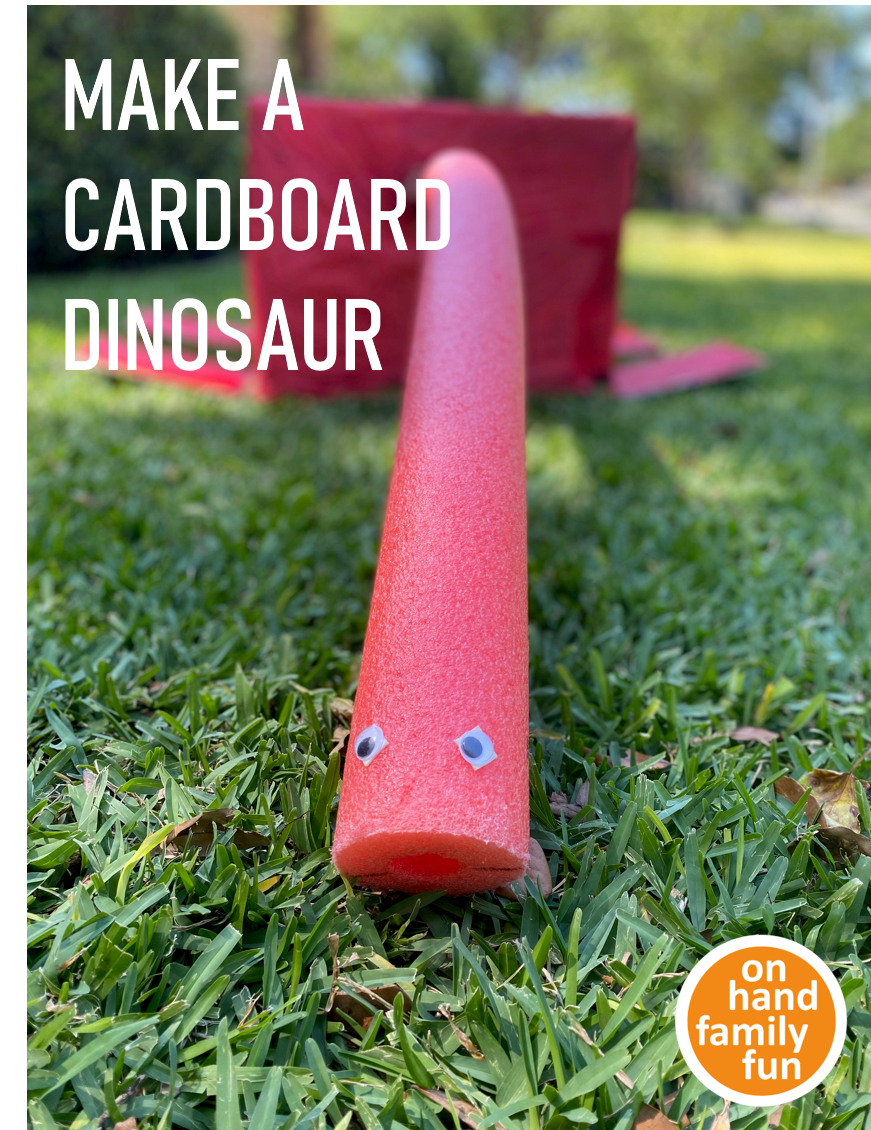
Once your box is dry, add the pool noodle to the front of your dinosaur. We used foam tape to add googly eyes and a permanent marker to draw a mouth.
We took Pat outside for a game of dinosaur tag! Pat was it. 😉


I hope you enjoyed this project! If you like projects like this, please follow me on Facebook @onhandfamilyfun!


Comments